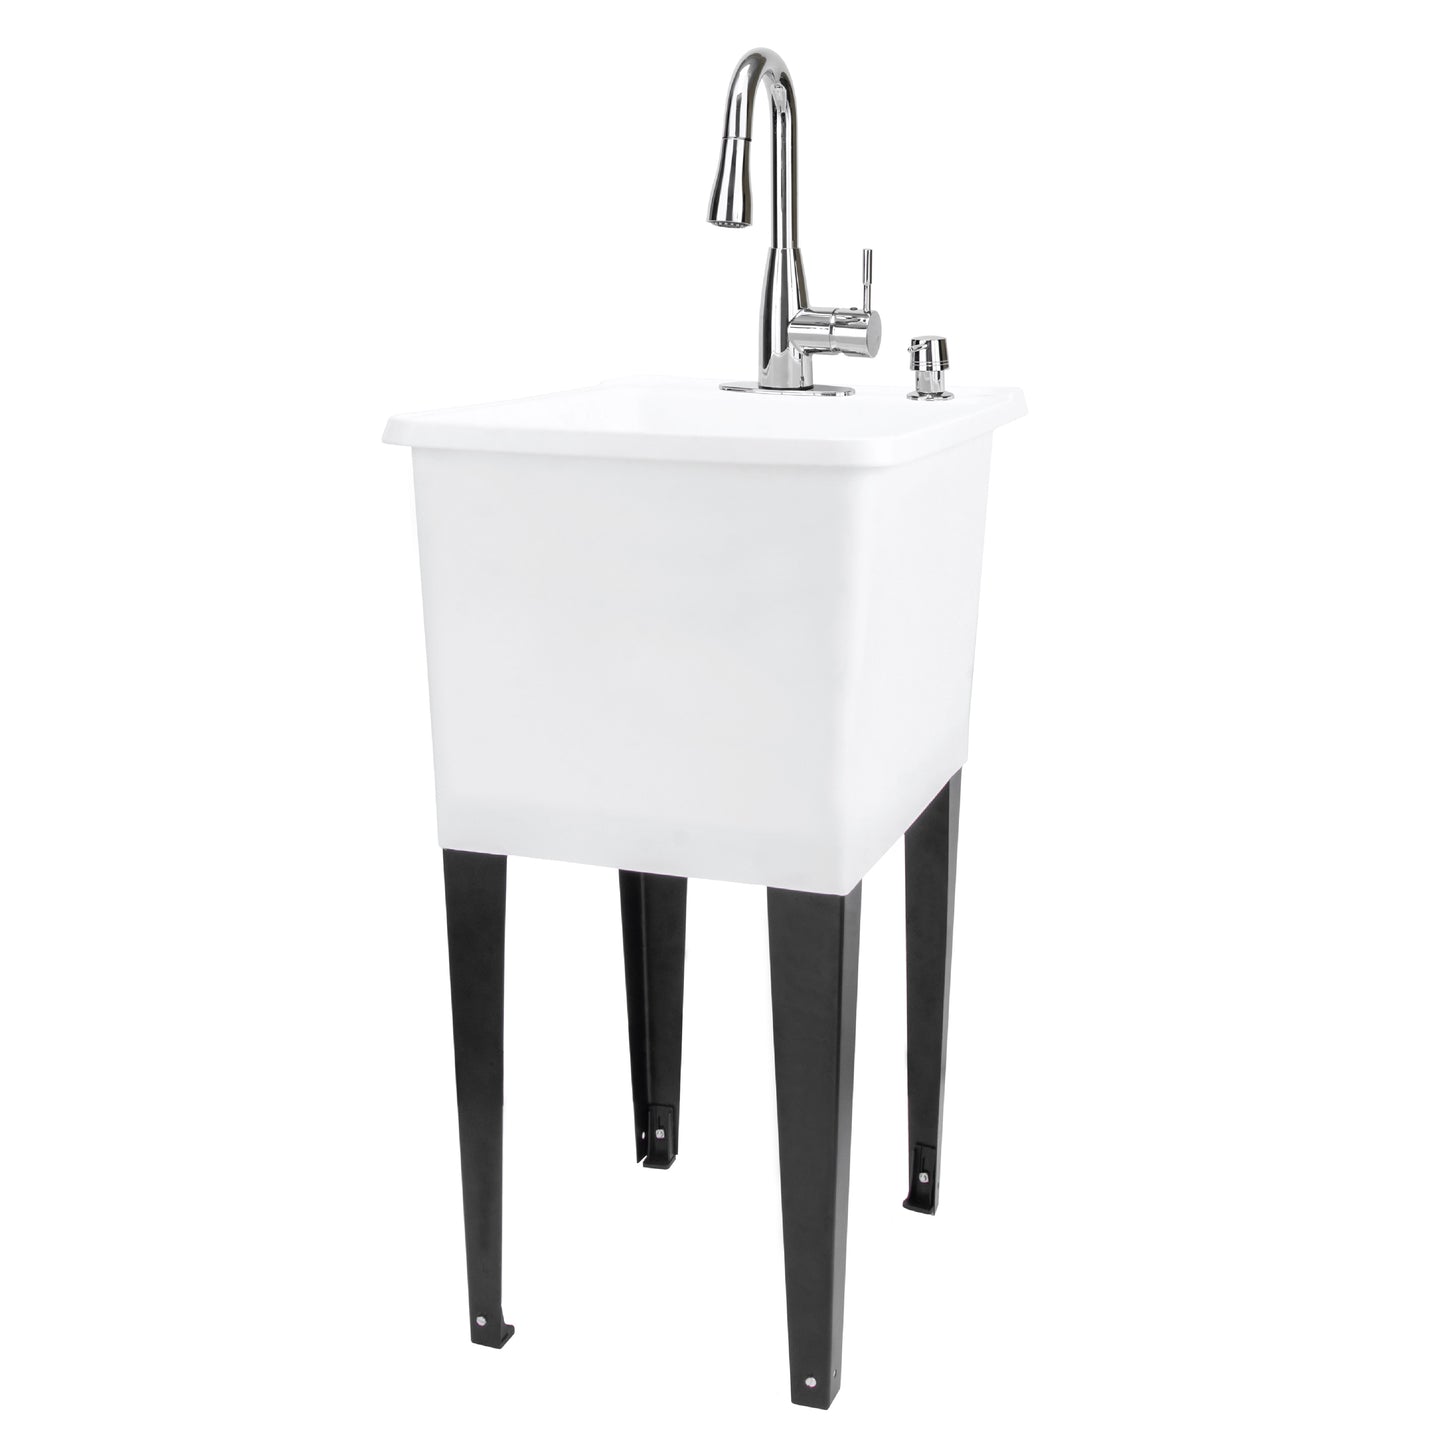
Installation Guides

Utility Sinks Follow Along and Build your Own Utility Sink with our Step by Step Tutorial
  • INSTALLATION STEPS VIDEO

    Get right to it and follow along with our guided video tutorial
    1. How to punch out faucet holes.
    2. How to install steel legs.
    3. How to install the laundry faucet.
    4. How to install the plastic drainage.
    WATCH TUTORIAL
Utility Sink How to Punch out Faucet Holes Image
  • HOW TO PUNCH OUT FAUCET HOLES

    Step 1. Flip tub over. You should now be able to see the holes you will be punching out. Look at your faucet and decide which holes you need to punch out depending on the type of connection you have.
  • Step 2. Use a hammer and flat head screwdriver to punch out the holes. Place the screw driver on the edge of the hole and hit it until you punch through the plastic.
  • Step 3. Move the screwdriver around the sides of the hole, hitting it with the hammer until the hole has been punched out.
  • Step 4. You can use the edge of the screw driver to clean up the hole. The faucet plate will cover the punched out holes so they do not need to look perfect.
Utility Sink How to install leg levelers Image
  • HOW TO INSTALL LEG LEVELERS

    Step 1. Find one leveler, washer, and bolt for each leg.
  • Step 2. Place the leveler on the leg and push the bolt through the hole in the leg and the leveler.
  • Step 3. Tighten the washer onto the end of the bolt.
  • Step 4. Using your thumb to hold the washer in place, use a flat head screw driver to tighten the leveler to the leg.
Utility Sink How to Install Sink Legs Image
  • HOW TO INSTALL SINK LEGS

    Step 1. Turn the tub upside down. Find the leg slot in the corner.
  • Step 2. Place the leg in the corner of the slot and gently push it in.
  • Step 3. Place a book or piece of wood on the bottom of the leg and using a hammer tap the leg into place.
  • Step 4. Try and wiggle the leg after every other tap. The leg should feel firm when securely tapped into place.
Utility Sink How to Install the faucet image
  • HOW TO INSTALL THE FAUCET

    Step 1. Place the deck plate over the hole you punched out.
  • Step 2. Place the spray connector through the hole first.
  • Step 3. Then push each of the supply lines and the male sprayer end through the hole.
  • Step 4. Repeat steps 1 and 2 through the rubber gasket, washer, and shank bolt.
  • Step 5. Screw the shank bolt onto the shank until it is tight against the top.
  • Step 6 Use a screwdriver to tighten the screws on the shank bolt until firm. The faucet will now be secured to the tub.
Utility Sink Connecting Sprayer and weight Image
  • CONNECTING SPRAYER AND WEIGHT

    Step 1. Find the male and female ends of the sprayer line.
  • Step 2. Press into the female until it clicks.
  • Step 3. Locate the weight tag on the sprayer line and place both halves of the weight together over the tag.
  • Step 4. Use both screws to secure the weight to the line, this will keep your sprayer in place. Please note, some weights do not have screws and snap shut.
Utility Sink P-Trap and Drain Install
  • P-TRAP AND DRAIN INSTALL

    Step 1. Find all the pieces of your drain kit.
  • Step 2. Build it as shown. For the upright pipe the plastic screw caps go on before rubber gaskets. The p-trap has approximately 1.5 inches of height difference in order to match up to your wall connector. You made need to cut it down to have it match your connection.
  • Step 3. A rubber washer goes in the top screw on cap before it screws on to the tub. Screw on to the tub as tightly as you can. Give a 1/4 turn with a wrench after hand tightening to ensure against leaks.
  • Step 4. Line up with your wall connector.
Utility Sink Drain and supply line install image
  • DRAIN AND SUPPLY LINE INSTALL

    Step 1. Add your drain cap and gasket to the end of your p-trap and trim the main pipe, if needed, to line up to your drain wall connector.
  • Step 2. Screw the cap onto the connector and tighten with a wrench 1/4 turn to ensure a good seal.
  • Step 3. Find your hot and cold supply connections. Turn off the water. If desired, add Teflon tape to the water supply line threads for added lubrication. The supplied lines have compression nuts and should not need additional sealant. Screw on by hand until tight.
  • Step 4. Use pliers to hold the supply line to keep your line from twisting while using a wrench to tighten the nut onto the connector. Turn on the water after connection and check for leaks. Tighten more if leaking.